
How to Maintain Your Water Dispenser for Longevity

How to Maintain Your Water Dispenser for Years of Pure Refreshment
Your water dispenser is a modern convenience, providing instant access to clean, refreshing water, whether hot or cold. But like any appliance, it needs a little TLC to keep running smoothly, efficiently, and most importantly, hygienically. Neglecting maintenance can lead to mineral buildup, bacterial growth, and even a shorter lifespan for your beloved hydration station.
Good news! Maintaining your water dispenser isn't complicated. With a few simple steps, you can ensure it delivers pure, great-tasting water for years to come.
Here's your comprehensive guide to maintaining your water dispenser for longevity:
1. Regular Exterior Cleaning: The First Line of Defense
Why it matters: The outside of your dispenser, especially the spouts and drip tray, is a magnet for dust, spills, and drips, which can quickly become a breeding ground for germs.
How to do it:
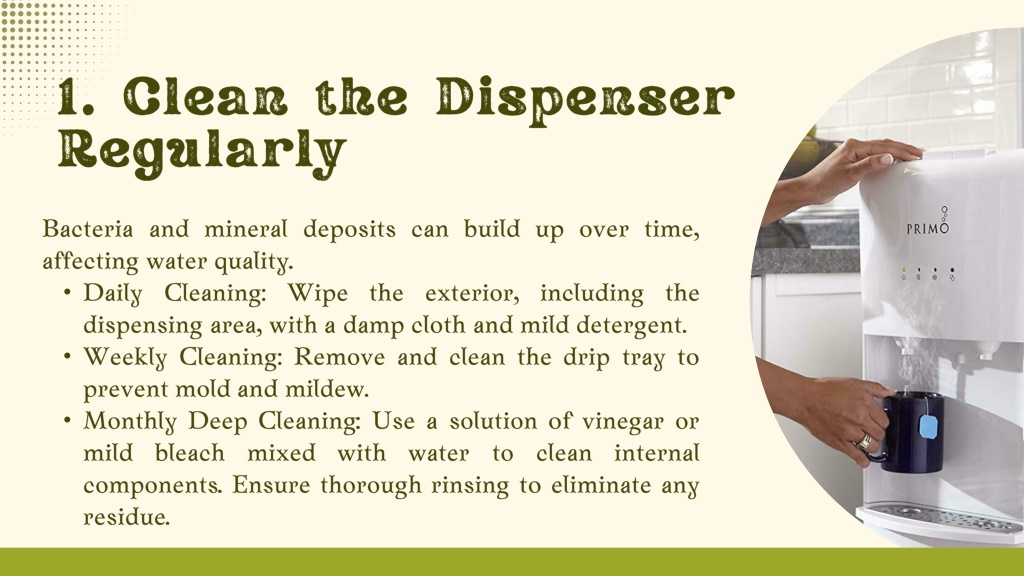
- Wipe down daily/weekly: Use a clean cloth dampened with mild soap and water, or a food-safe disinfectant spray, to wipe all exterior surfaces, including the top where the bottle sits.
- Clean the spouts: Pay special attention to the dispensing nozzles. Use a small brush (like a clean bottle brush or even an old toothbrush) and disinfectant to scrub away any residue. Rinse thoroughly with clean water.
- Empty and clean the drip tray: This should be done frequently, ideally daily or every few days. Remove the tray, wash it with soap and hot water, and rinse well before replacing. This prevents mold and unpleasant odors.
2. Deep Cleaning the Internal Reservoir: The Heart of the Matter
Why it matters: Over time, a biofilm can form inside the water reservoir, and mineral deposits can accumulate, affecting water taste and potentially harboring bacteria. This is crucial for health and water quality.
How to do it (Every 3-6 months):
- Unplug and Drain: Always unplug the dispenser from the power outlet first! Let the dispenser sit for an hour to cool the hot tank (if applicable). Drain all the water from both hot and cold spouts until nothing more comes out.
- Remove the Water Bottle: Lift and remove the empty water bottle.
- Prepare Cleaning Solution:
- Vinegar Method: Mix a solution of 1 part distilled white vinegar to 3 parts clean water. For a standard 5-gallon reservoir, about 1-2 cups of vinegar should suffice.
- Bleach Method (Use with extreme caution): Mix 1 teaspoon of unscented household bleach with 1 gallon of clean water. Only use this if you are confident in thorough rinsing, as bleach residue is harmful.
- Commercial Dispenser Cleaner: Follow the product instructions.
- Clean the Reservoir: Pour the cleaning solution into the reservoir. If you can physically reach inside with a clean sponge or a bottle brush, gently scrub the interior walls.
- Let it Soak: Allow the solution to sit in the reservoir for 15-30 minutes (no more than 5 minutes for bleach solution). Dispense a small amount through both hot and cold spouts to clean the lines.
- Drain Thoroughly: Place a large bucket under the drain plug (usually at the back of the dispenser) and remove the plug to drain all the cleaning solution.
- Rinse, Rinse, Rinse! This is the most critical step.
- Replace the drain plug.
- Fill the reservoir completely with fresh, clean water.
- Drain water through all spouts (hot and cold) and the back drain plug.
- Repeat this fresh water rinse at least 2-3 times, or more, until you can no longer smell any vinegar or bleach. You want to ensure no cleaning solution residue remains.
- Replace Bottle & Plug In: Replace the drain plug securely. Place a new, full water bottle on top. Wait 5-10 minutes for the hot and cold tanks to fill before plugging the dispenser back in. This prevents damage to heating elements if they start without water.
3. Descaling (For Hot Water Function)
Why it matters: If your dispenser has a hot water function and you live in an area with hard water, mineral deposits (limescale) can build up in the heating tank, reducing efficiency and potentially causing damage.
How to do it (Annually or as needed):
- The deep cleaning process using vinegar often helps with descaling. The acetic acid in vinegar effectively dissolves mineral deposits.
- If you notice the hot water taking longer to heat or not getting as hot, perform the deep cleaning with a stronger vinegar solution (e.g., 1 part vinegar to 2 parts water) and let it soak a bit longer in the hot tank. Remember to flush thoroughly!
4. Check for Leaks and Damage
Why it matters: Small leaks can lead to water damage, mold growth, and wasted water. Wear and tear can compromise the unit's safety and function.
How to do it:
- Regularly inspect: During cleaning, visually check hoses, connections, and the body of the dispenser for any signs of cracks, rust, or drips.
- Address issues promptly: If you notice a leak, try to identify the source. It might be a loose connection that can be tightened, or it could indicate a more serious internal problem requiring professional repair or replacement.
5. Proper Placement
Why it matters: Where you place your dispenser can impact its performance and the quality of your water.
How to do it:
- Choose a cool, dry spot: Keep your dispenser away from direct sunlight, heat sources (like ovens or radiators), and areas with high humidity. Heat can encourage algae growth in the water and put strain on cooling components.
- Maintain proper clearance: Ensure there's adequate space around the back and sides for ventilation.
6. Unplug When Not in Use (for Extended Periods)
Why it matters: If you're going on vacation or won't be using the dispenser for several days or weeks, unplugging it saves energy and prevents potential issues like leaks going unnoticed.
How to do it:
- Simply unplug the unit. It's also a good idea to drain any remaining water from the tanks to prevent stagnation and potential odor buildup.