
How to Install a Water Dispenser in Your Home or Office
A Step-by-Step Guide to Installing a Water Dispenser in Your Home or Office
Tired of endless trips to the store for bottled water, or just want a convenient way to access chilled (or hot!) purified water? A water dispenser is a fantastic solution for both homes and offices, offering convenience, healthier hydration, and often a reduced environmental footprint.
While the idea of installing something new might seem daunting, most water dispensers are surprisingly easy to set up. This guide will walk you through the process, covering the two main types: bottled water dispensers and point-of-use (plumbed-in) dispensers.
Why Install a Water Dispenser?
Before we dive into the "how," let's quickly touch on the "why":
- Convenience: Instant access to cold, room temperature, or hot water for drinks, cooking, or instant meals.
- Health: Encourages more water consumption, often providing filtered water superior to tap.
- Eco-Friendly: Reduces reliance on single-use plastic bottles (especially with point-of-use or large refillable bottles).
- Cost-Effective: Over time, buying large water bottles or filtering your own water can be cheaper than individual smaller bottles.
- Taste: Many find dispensed water tastes better than straight tap water.
Understanding Your Water Dispenser Type
The installation process differs significantly depending on whether you have a bottled or a point-of-use (POU) dispenser.
-
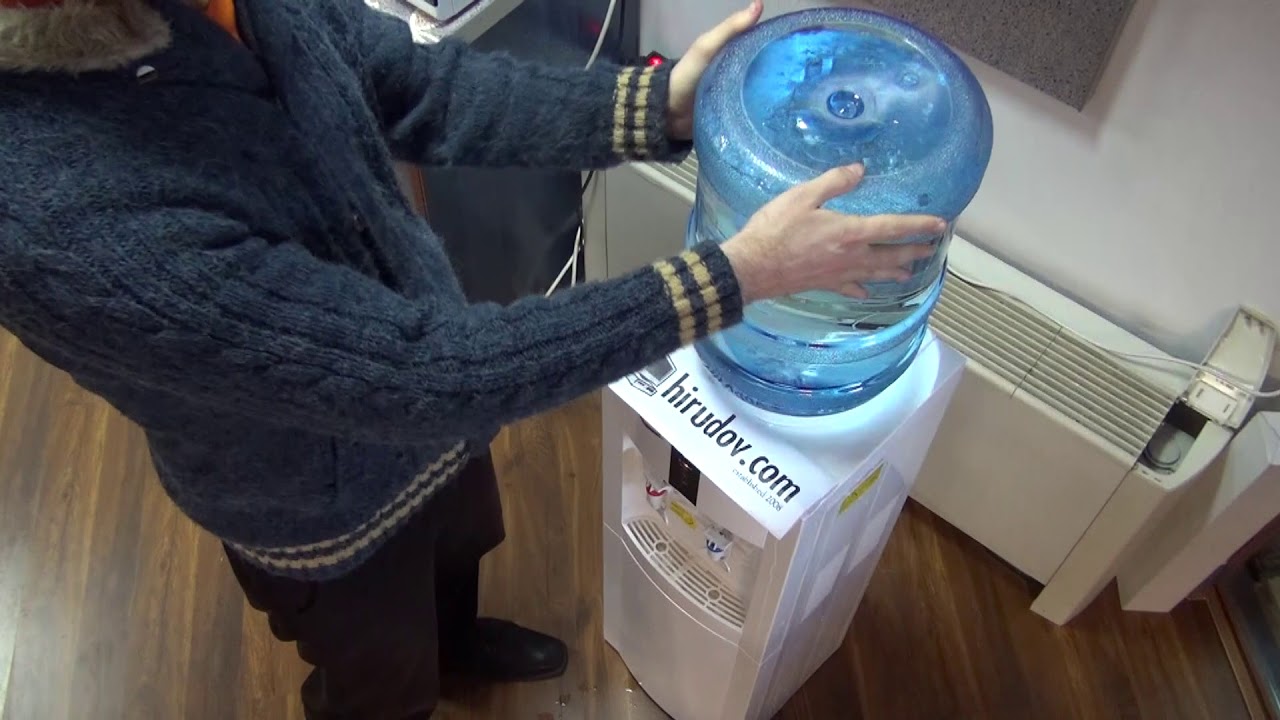
Bottled Water Dispensers: These are the most common. You simply load a large water jug (typically 3-gallon or 5-gallon) onto or into the unit.
- Top-Load: The jug sits visibly on top.
- Bottom-Load: The jug sits in a cabinet below, and a pump draws water up.
- Installation Difficulty: Very Easy.
-
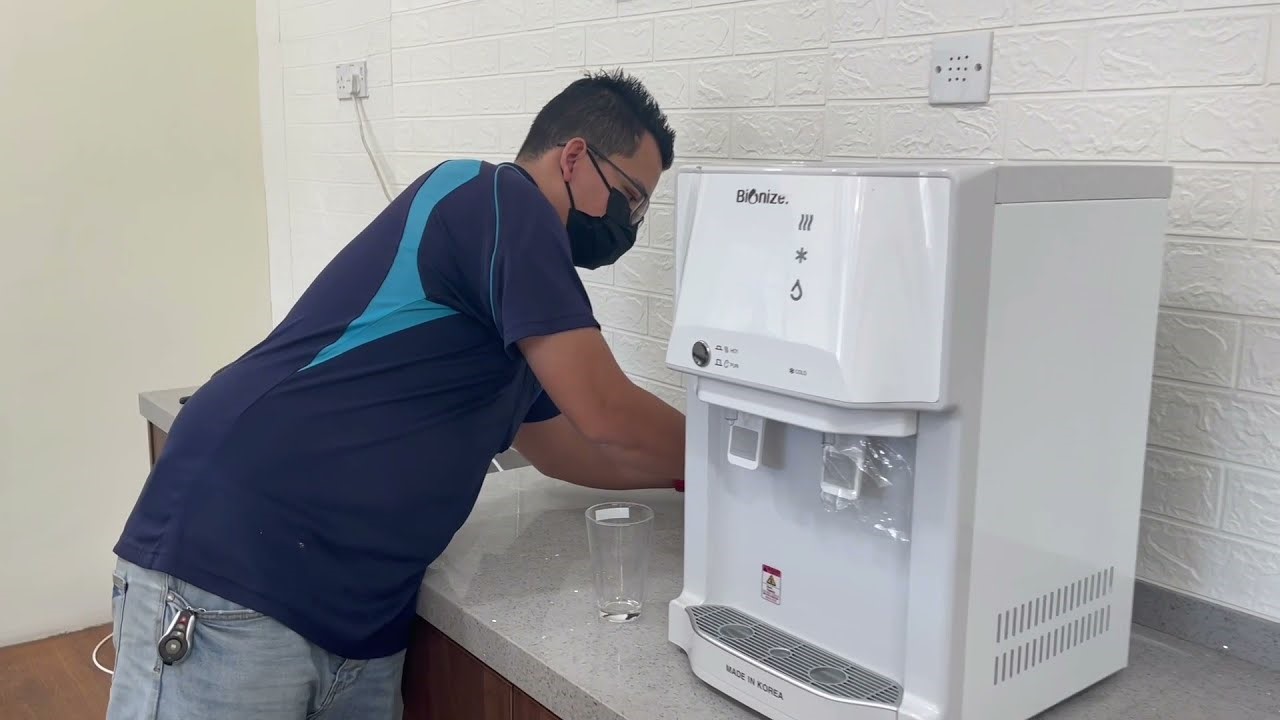
Point-of-Use (POU) Dispensers: These units connect directly to your home or office's cold water line, often incorporating a filter.
- Installation Difficulty: Moderate (requires basic plumbing knowledge).
Installation Guide: Bottled Water Dispensers
This is the quicker, simpler setup!
What You'll Need:
- Your water dispenser
- A 3-gallon or 5-gallon water jug
- A clean cloth
- (Optional) A bucket to catch drips
Steps:
-
Choose Your Location:
- Find a flat, sturdy surface near an electrical outlet.
- Ensure there's enough clearance around the unit for air circulation, especially if it has cooling coils on the back.
- Keep it away from direct sunlight or heat sources (like ovens or radiators) to optimize cooling efficiency.
- For bottom-load units, ensure space to slide the bottle in and out.
-
Unbox and Inspect:
- Carefully remove the dispenser from its packaging.
- Check for any damage that might have occurred during shipping.
- Locate all included accessories (drip tray, bottom-load pump tube, etc.).
-
Clean the Unit:
- Wipe down the exterior of the dispenser with a clean, damp cloth.
- For top-load units, clean the bottle receptacle area. For bottom-load, clean the cabinet where the bottle sits.
-
Plug It In (But Don't Turn On Yet!):
- Plug the power cord into a grounded electrical outlet.
- Crucially, do NOT turn on the hot or cold water switches yet. The internal tanks need to be filled with water first to prevent damage.
-
Load the Water Bottle:
- For Top-Load Dispensers:
- Remove the cap or seal from your water jug.
- Carefully lift the bottle and invert it, placing it onto the dispenser's probe. Push down firmly until you hear a gurgling sound and see bubbles – this means the water is filling the internal reservoir.
- For Bottom-Load Dispensers:
- Open the lower cabinet door.
- Remove the cap/seal from your water jug.
- Insert the pump tube (usually included with the dispenser) into the water jug, ensuring it reaches the bottom.
- Slide the water jug into the cabinet.
- Close the cabinet door.
- For Top-Load Dispensers:
-
Prime the Dispenser (Crucial Step!):
- Place a glass under the cold water tap.
- Press the cold water paddle/button until water flows out steadily and all air is expelled.
- Repeat this process for the hot water tap (even if you don't plan to use hot water). You might get some sputtering initially – keep going until a steady stream appears.
- This step is vital to prevent "dry firing" the heating element, which can cause permanent damage.
-
Activate Hot and Cold Functions:
- Once water flows steadily from both taps, you can now flip the hot water and/or cold water switches (usually located on the back of the unit) to the "ON" position.
- Allow 15-30 minutes for the water to reach its desired temperatures.
-
Enjoy!
- Your bottled water dispenser is now ready for use.
Installation Guide: Point-of-Use (POU) Water Dispensers
Installing a POU dispenser requires connecting it to your home or office's cold water supply line. If you're uncomfortable with basic plumbing, it's best to hire a professional.
What You'll Need:
- Your POU water dispenser
- Installation kit (usually included: T-valve or saddle valve, tubing, filters, fittings)
- Adjustable wrench
- Screwdriver (Phillips and/or flathead)
- Drill with appropriate drill bit (if using a saddle valve or for mounting)
- Utility knife or tubing cutter
- PTFE (Teflon) tape
- Bucket and towels (for potential drips)
- Safety glasses
Steps:
-
Choose Your Location:
- Near a cold water supply line (under the sink is a common choice).
- Near a grounded electrical outlet.
- On a flat, sturdy surface.
- Ensure enough space for the unit and for filter changes if applicable.
-
Unbox and Inspect:
- Carefully remove the dispenser and all components from the packaging.
- Familiarize yourself with the parts in the installation kit.
- Read your dispenser's specific manual for any unique instructions.
-
Shut Off the Water Supply:
- Locate the main water shut-off valve for your home/office, or preferably, the cold water shut-off valve under the sink where you'll be connecting.
- Turn the valve clockwise until the water is completely off.
- Open a nearby cold water faucet to drain any remaining water from the line and relieve pressure.
-
Install the Water Line Connection:
- Option A: T-Valve (Recommended for secure, leak-free connection):
- Disconnect the existing cold water line from the faucet's supply pipe (use your adjustable wrench).
- Wrap PTFE tape around the threads of the T-valve.
- Attach the T-valve to the cold water supply pipe.
- Reconnect the original cold water line to the T-valve.
- Ensure all connections are hand-tight, then use a wrench for a final turn (don't overtighten).
- Option B: Saddle Valve (Simpler, but can be prone to slow leaks over time):
- Choose a section of exposed, straight copper or PEX cold water pipe.
- Attach the saddle valve to the pipe according to the manufacturer's instructions. This usually involves drilling a small hole in the pipe and clamping the valve onto it. Exercise extreme caution when drilling to avoid damaging the pipe or yourself.
- Option A: T-Valve (Recommended for secure, leak-free connection):
-
Connect the Tubing:
- Measure the length of tubing needed from the newly installed T-valve/saddle valve to the water dispenser.
- Cut the tubing to the appropriate length using a utility knife or tubing cutter, ensuring a clean, straight cut.
- Connect one end of the tubing to the T-valve/saddle valve. Use the provided compression fittings or quick-connect fittings, ensuring a secure, leak-free seal.
- Route the tubing neatly to the back of the water dispenser. Avoid kinks or sharp bends.
-
Install the Water Filter (If External):
- Many POU dispensers have an external inline filter. Follow the filter manufacturer's instructions for installation. This typically involves cutting the tubing again and inserting the filter, ensuring the water flow direction is correct.
-
Connect to the Dispenser:
- Connect the other end of the tubing (or the filter outlet tubing) to the water inlet port on the back of your water dispenser. Again, use the provided fittings and ensure a tight connection.
-
Secure Tubing & Check for Leaks:
- Use cable ties or clips to secure the tubing discreetly and prevent it from being accidentally pulled or crimped.
- Slowly turn the main water supply back on.
- Carefully inspect all connections (T-valve/saddle valve, filter, dispenser inlet) for any signs of leaks. Tighten fittings slightly if you see drips.
-
Flush the System (Crucial Step!):
- Do NOT plug in the dispenser yet.
- Place a large bucket under the cold water tap of the dispenser.
- Press the cold water paddle/button and let water run into the bucket for 5-10 minutes. This flushes out air, carbon dust from the filter, and any sediment from the lines. The water might look cloudy initially.
- Repeat for the hot water tap (if available on the unit), ensuring a steady stream.
-
Plug In and Activate:
- Once the system is flushed and leak-free, plug the dispenser into a grounded electrical outlet.
- Turn on the hot water and/or cold water switches on the back of the unit.
- Allow 15-30 minutes for the water to reach its desired temperatures.
-
Enjoy!
- Your plumbed-in water dispenser is now ready to provide continuous, filtered water.